
Hikers rejoice every day of the technology advances, because they make our lives much easier and give us the possibility to enjoy the path without worrying about getting lost.
Both dedicated GPS and smartphones have come to be a kind of blessing for hikers in this century. Thanks to applications like Walkaholic, it is now possible to check our position in real time regarding the route we have selected to walk.
Moreover, thanks to the internet we have the possibility to use other hiker’s experiences who have done our path before. Not only due to the description of the most important reference points, but also with photographs with which to be able to corroborate our position.
Although many do not use it, these images almost always have a tag called GeoTag, which gives us the GPS coordinates of the place they were taken, and is another element to guide us along the way.
All these advances are undoubtedly very useful. But they also make us dependent: these devices need electricity and can be discharged. Also, you may enter in a silence area where the signal fails or they can simply suffer an accident and stop working.
Therefore, from Walkaholic we review other forms of orientation in a hiking trail that, although traditional, should not be forgotten … they can save you from trouble any other day.
The classic does not age: map and compass

Even if we have our technology in order, it is advisable to have a good topological map of the region to be traveled on paper, where we have outlined the route we are going to take. Of course, a magnetic compass to guide us in the field should also be carried.
These two aids are small, lightweight and can be the difference between a day of fun and the need to be rescued. Both help us to orient ourselves in the field: that is, to know our precise location at a given time, identify the territory around us and choose the best path to reach our destination.
With a map, if we have previously drawn our route, we can from our starting point follow the route paying attention to the landscape without another instrument. The certified trails are usually well signposted and have enough traffic, so it is hard to get lost walking them.
However, if we cannot orient the map on the ground by simple inspection or we are following a path that is not well marked, we must use the compass. To do this, we align the line from 0 ° to 360 ° with the side of the map, and orient the set northwards in the compass.
If we know where we are and are able to identify it on the map, we will know our current position. But if not, by identifying visible landmarks and knowing their orientation with the compass we can check the map to know where we are.
These elements also allow us to identify our linear position, or triangulate our position by identifying reference points on the map.
Orientation without a map, compass or GPS

Orientation in hiking / Photo by juanmarmolejos – Freepik.com
It may be the case –hopefully not– that you get lost in the countryside or mountain and do not have any instrument to guide you on the ground or anyone to ask for directions. You will then have to resort in the means that our ancestors used.
Remember these six tricks to guide yourself without instruments: they can get you out of trouble someday.
1. Orient yourself by the stars
On a clear and open-air night, the stars are a great way to get your way back. Therefore, it is important to know how to recognize the Polar Star (if you are in the northern hemisphere) or the Southern Cross.
To recognize the Polar Star, you must identify the Ursa Major, which is shaped like a saucepan. Then follow the line of the 2 outer stars (they are called Dubhe and Merak). Five times the distance between them, you will find a bright star. It is the Polar Star, which points north.
2. Orient yourself with the sun
By day, you can use the sun at dawn and dusk as a reference. Approximately, the sun rises in the east and sets in the west in both hemispheres. At noon, in the northern hemisphere, if you turn your back to the sun your shadow will mark the north (the opposite in the southern hemisphere).
3. Orient yourself with shadows
Also known as the clock method, you must have an analog clock to use this. In the northern hemisphere, aligning the hour hand with the sun, in the bisector with the figure 12 of the clock is the South (in the southern hemisphere would be the North).
You can also put a stick in the ground, mark the end of its shadow and wait an hour more or less. Mark the end of the new shadow and draw a line between the marks. In the Northern Hemisphere the first point marks the West and the second point the East, so drawing a perpendicular to the line we will have the North and the South.
4. Orient yourself with the moon
You can also orient yourself with the moon, when it is in its waning fourth phase (that is, its horns point to the right). In this phase, the horns indicate to the West.
In increasing phase, they point towards the East.
5. Orient yourself with nature
Although not very precise, several elements of nature can give you a rough idea of where the cardinal points are.
One way is by observing the flora. In the Northern Hemisphere, for example, moss tends to come out in the wettest and darkest areas, which correspond to the North.
In a mountain, for instance, the North face will be more abundant in terms of vegetation, humidity and snow. On the southern slope the snow disappears first, and the northern slope is usually more steep and cut.
Another way of orientation is by looking at the rings of the cut trees. These develop more towards the side that receives more sun, so the side of tighter rings is North, while where they are more separated will be indicating South.
6. Orient yourself with buildings
Of course, if you already find a villager it can get you out of the trouble by indicating the right path. But man made buildings can also lend you a hand to find the right path.
Ancient churches with a Latin cross layout, for example, orient their altar towards East, so the door through which the parishioners enter points to the West.
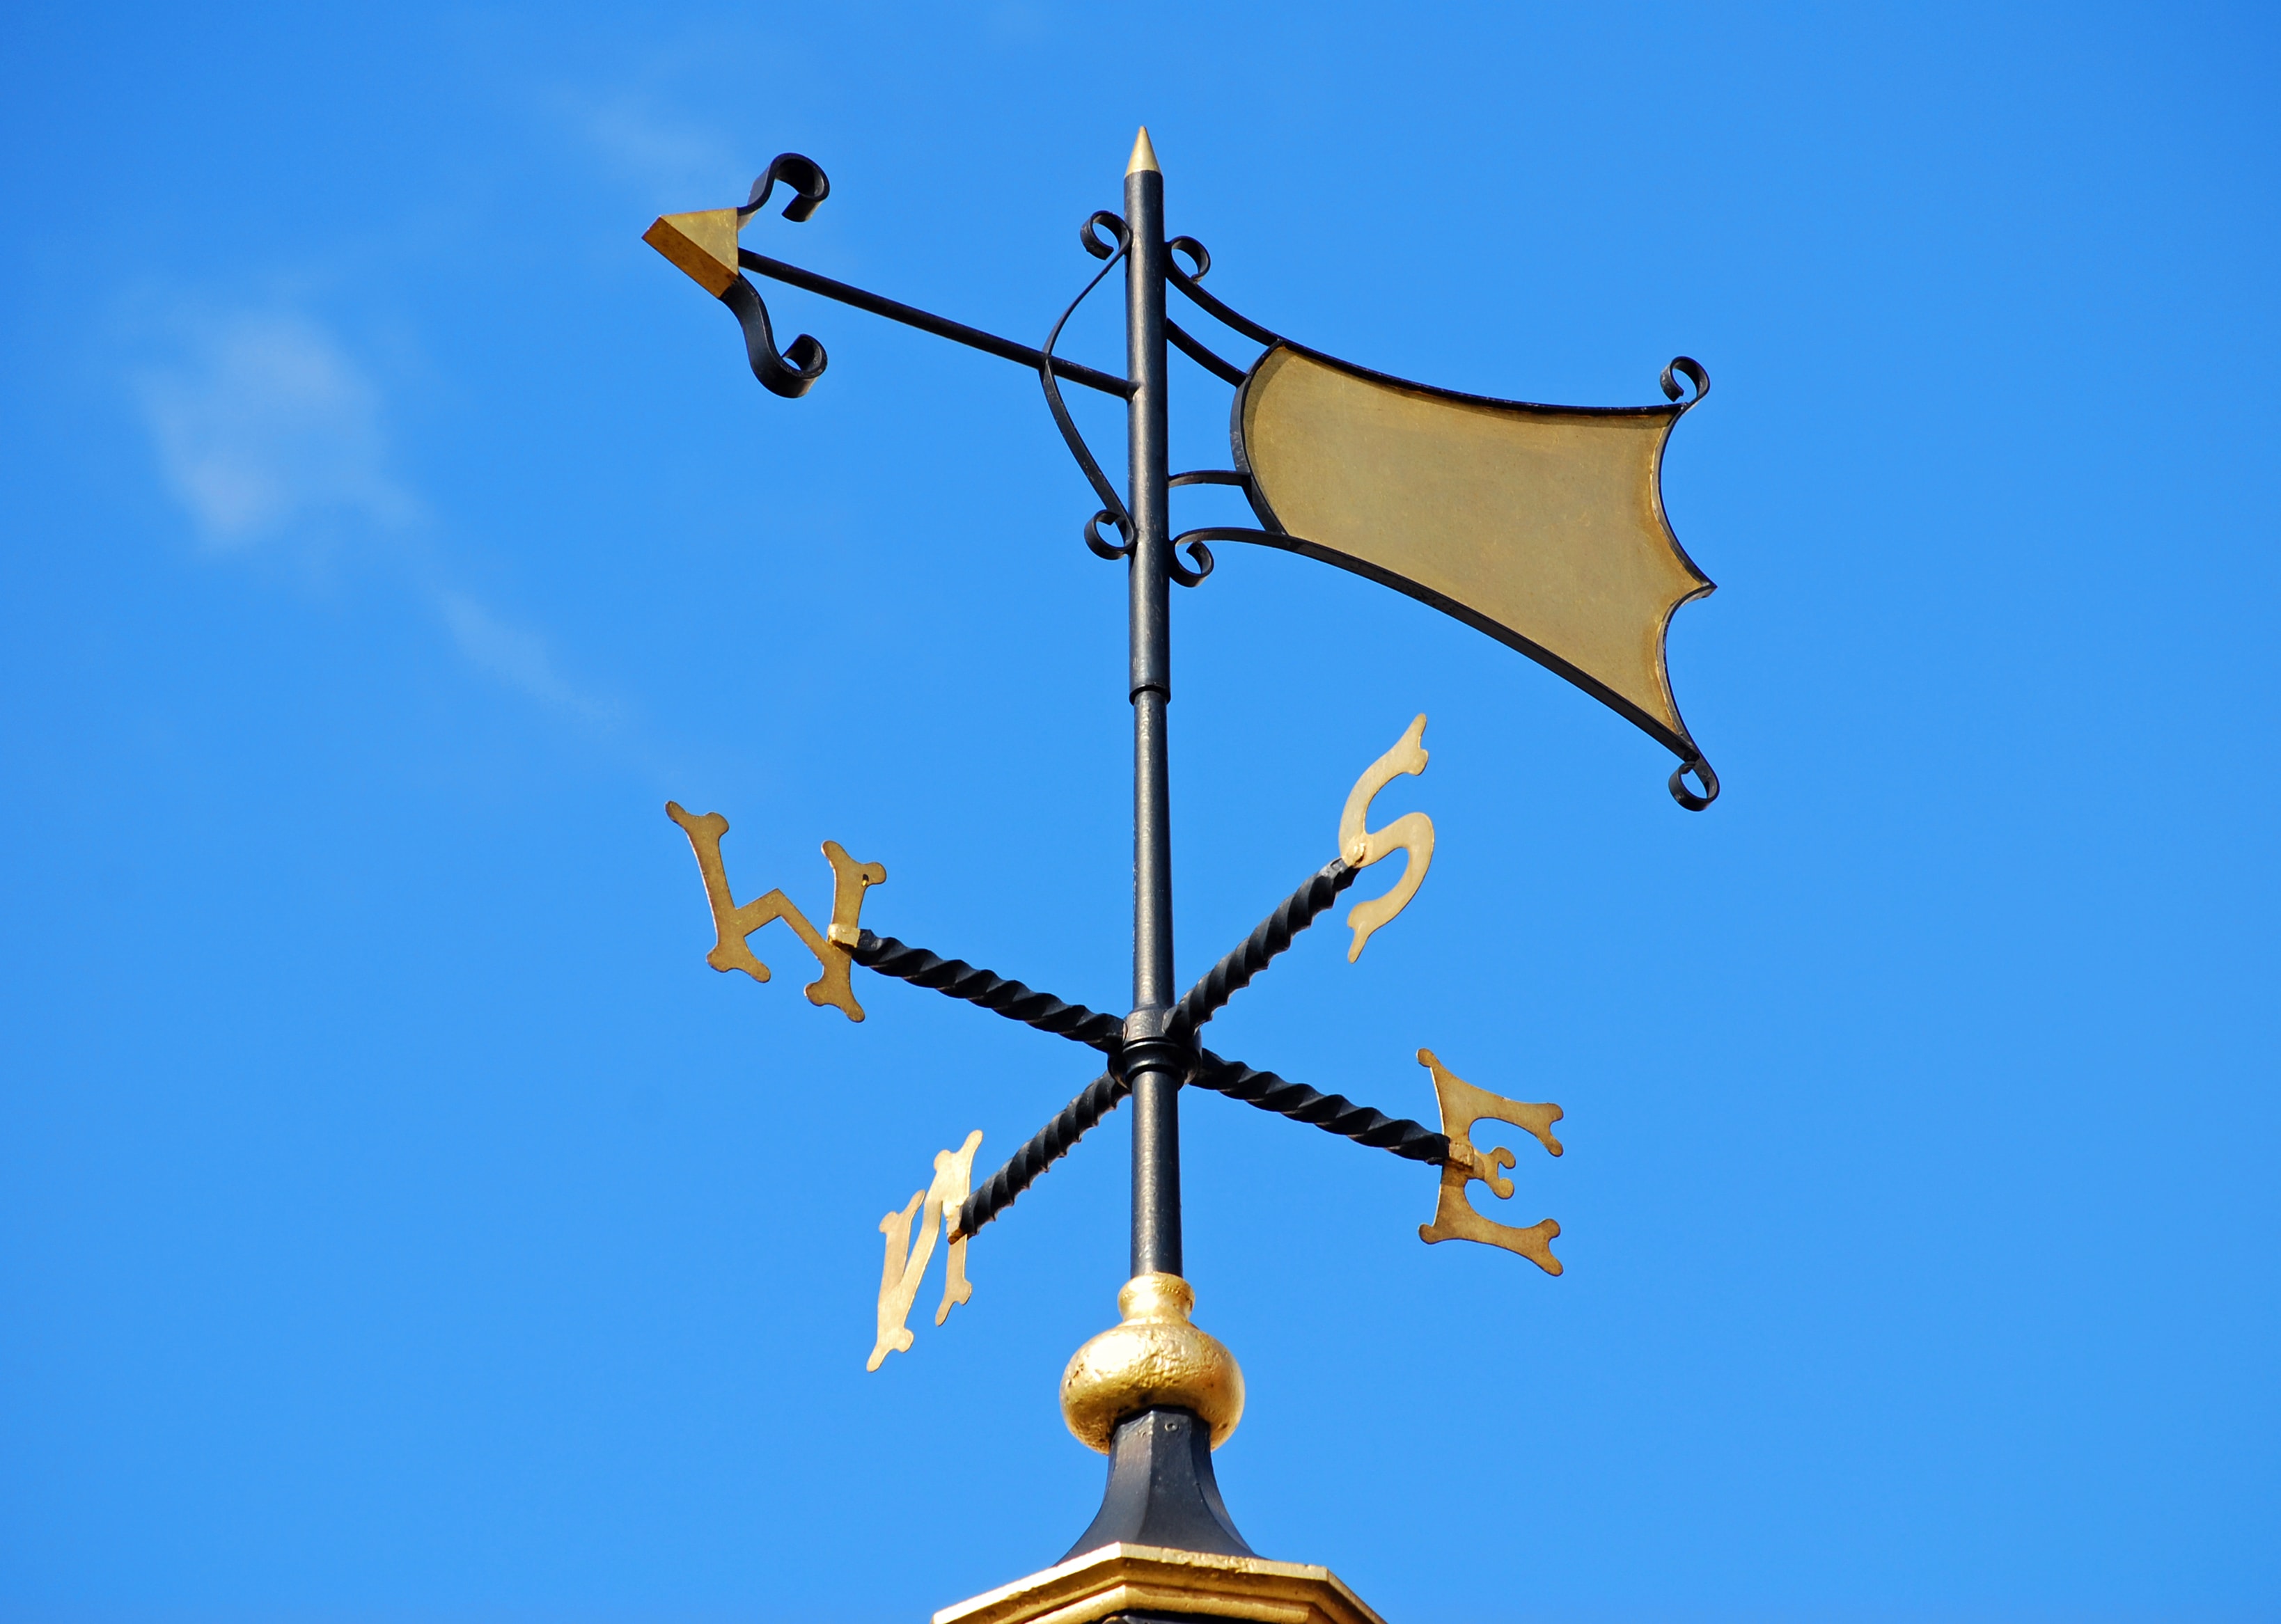
Weather vanes, used to indicate wind direction, usually have arms with the letters N, S, E, O (W). These are oriented correctly with the cardinal points.
Now that you know how to orient yourself on the field with instruments and without them, it’s time to put on your boots and go for a walk. But it’s better to carry your cell phone with fully charged battery and the Walkaholic app installed on it. Just do not forget to download the map of your trail, and that’s it. Make your life easier!
Apúntate a nuestra newsletter semanal
Te enviaremos un correo cada semana con el nuevo artículo junto a las novedades de nuestra app móvil de senderismo.